
Getting Started with
Art2link ESB
From the Azure Marketplace to your live integration workspace — follow these ten steps to discover, deploy, and access Art2link ESB for the first time.
Log in to the Azure Portal at portal.azure.com. In the search bar at the top center of the screen, type Marketplace and select the Marketplace service from the results — it is represented by a cloud shopping bag icon.
Once inside the Marketplace, you can find Art2link ESB in two ways:
- Browse to the Integration category in the left sidebar.
- Use the search bar and type BizTalk or Art2link to locate it directly.
Select the Art2link ESB listing to open its Overview page. Choose the Subscription where you want to install it and select the appropriate Plan. Then click Create to begin the deployment wizard.
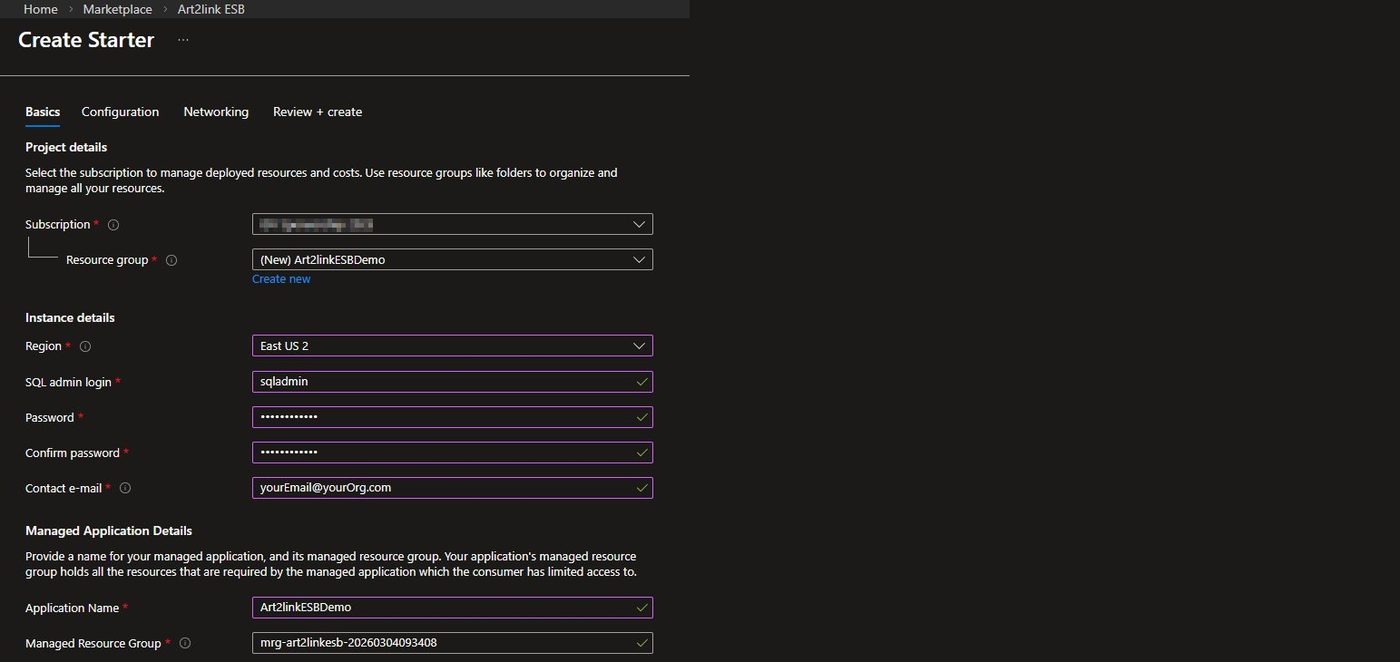
The Create wizard opens on the Basics tab. Fill in all required fields — your Azure subscription, a new or existing Resource Group, the deployment region, your SQL administrator credentials, and the contact e-mail for your organization.
Under Managed Application Details, give your installation an Application Name. Azure will automatically generate a Managed Resource Group name based on it — make a note of both, as you will use them to locate your deployment later.
Once all fields are filled, click Next to proceed. You will pass through the Configuration tab — click Next once more to reach the Networking screen.
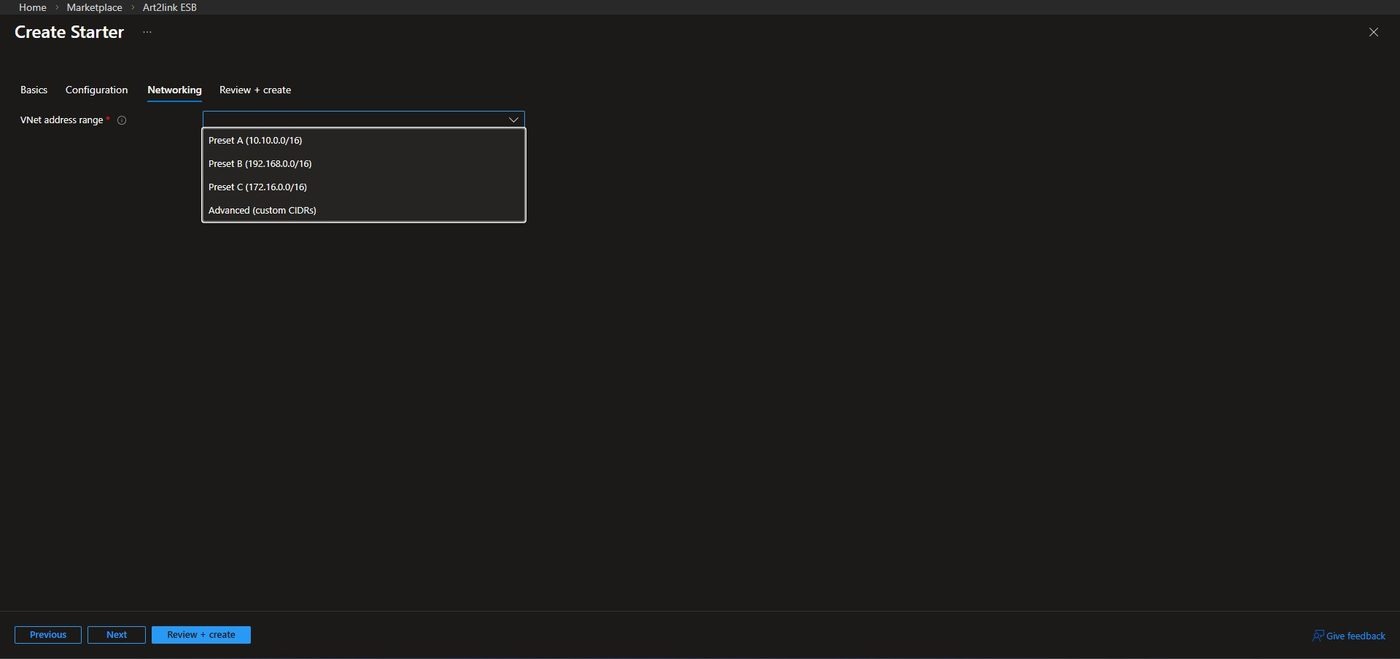
On the Networking tab, select a VNet address range for the private virtual network Art2link ESB will use internally. Choose a preset that does not overlap with any existing VNet you plan to peer with:
- Preset A — 10.10.0.0/16
- Preset B — 192.168.0.0/16
- Preset C — 172.16.0.0/16
- Advanced (custom CIDRs) — define your own ranges.
Once your selection is made, click Next. Azure will validate your configuration before presenting the review screen.
The Review + create tab shows a complete summary of all the settings you have configured, along with the pricing information for your selected plan. Read through the Terms section and verify that all values in the Basics and Networking sections are correct before proceeding.

If everything looks correct, click Create. Azure will begin deploying the Art2link ESB infrastructure into your subscription.
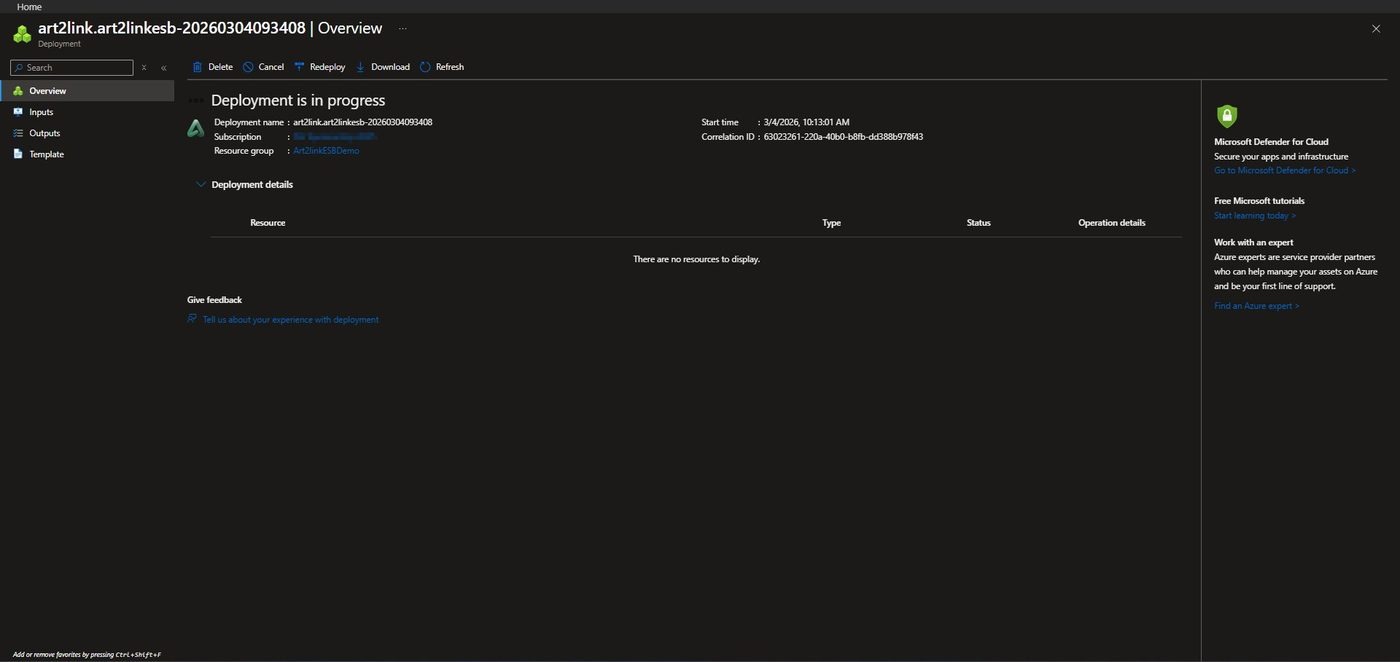
After clicking Create, Azure immediately opens the Deployment overview screen. You will see the status Deployment is in progress while Azure provisions all the infrastructure components that power Art2link ESB.
When the deployment finishes, the status changes to Your deployment is complete. At this point your Art2link ESB infrastructure is live and ready.
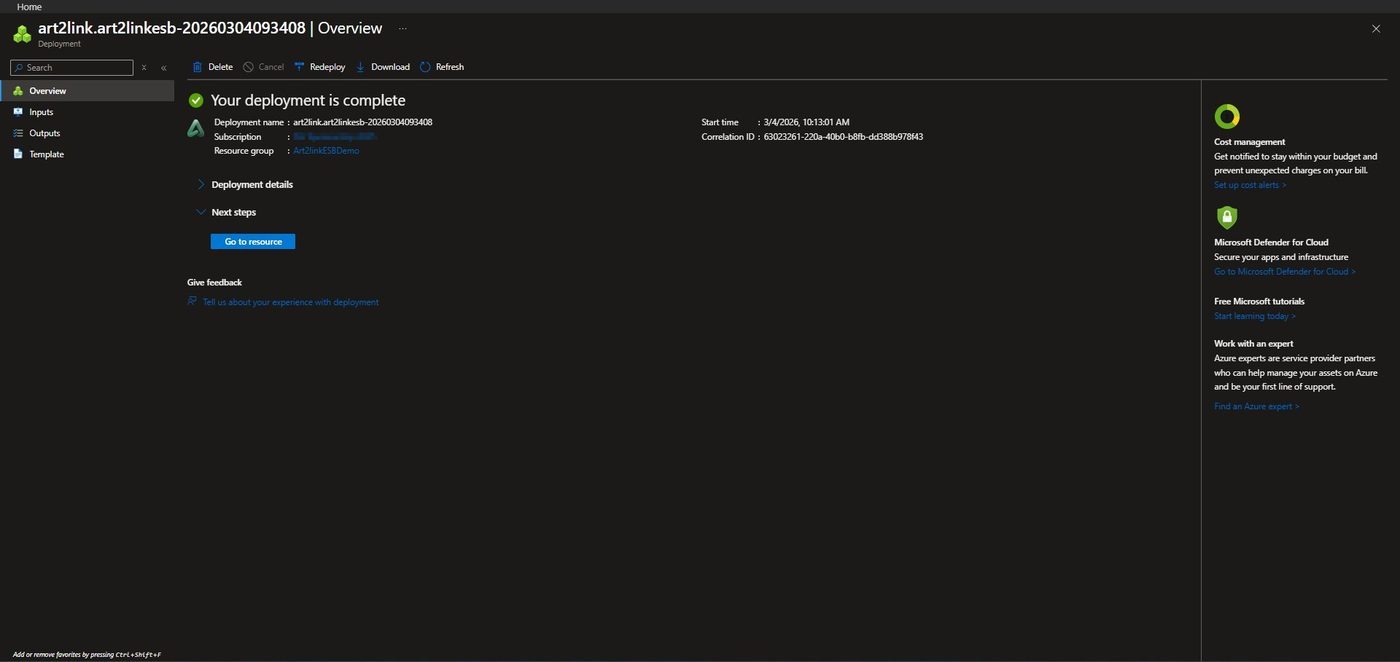
Click Go to resource to navigate directly to your deployment — this takes you straight to the Resource Group where your Managed application is listed. Alternatively, you can locate it at any time by navigating to the Resource Group name you defined in Step 2.
Inside the resource group you will find a single resource of type Managed application — this is the top-level object representing your Art2link ESB installation.

Click on the Managed application resource. On its Overview page, look to the upper-right of the Essentials section for a field called Managed resource group. This is the resource group Azure created automatically to host all of the application’s infrastructure. Click the link to open it.

Inside the managed resource group you will see all the Azure resources that power Art2link ESB — including databases, a service bus namespace, storage, a function app, and more. Look for an App Service resource whose name contains the word “front”. This is the web application you will use to configure and manage your integrations day to day.

On the Web App’s Overview page, look to the upper-right of the Essentials section for the field labelled Default domain. This is the permanent URL for your Art2link ESB management console — the address you and your team will use every day to access your integration workspace.

You’re all set
Art2link ESB is deployed and ready for configuration. If you run into any issues our support team is happy to help.