
 We’ve been talking about Azure API App and its implications for a while, how it can help your integration project, the connectivity with BizTalk Services and Logic Apps and the complications you may find on the way. Now it’s time to buckle it down and help you create your first API App. With this in mind we’ve done a guide to walk you through the process.
Creating an API App its actually quite easy, but it can also host as much complexity as your projects demands. Here are the steps to walk you through the process.
Creating your first Azure API App
- To start you need to go to your Azure Portal and select New > Web + Mobile > API App
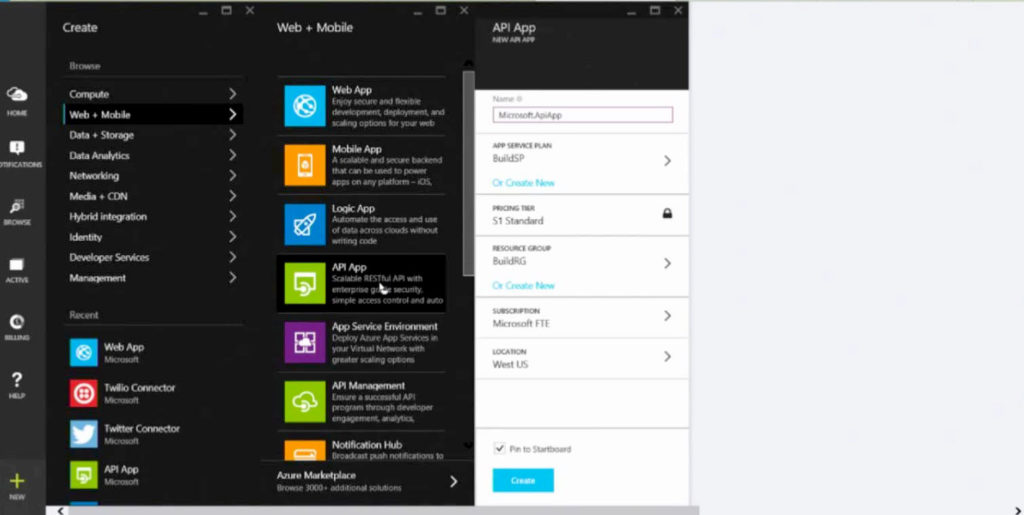
- Name it and select which Service Plan will it be created in.
NOTE – The Service Plan will determine the virtual machine where the API App will be hosted
- Select a Resource Group
- Click “Create” – After two minutes the API App will be created and accessible.
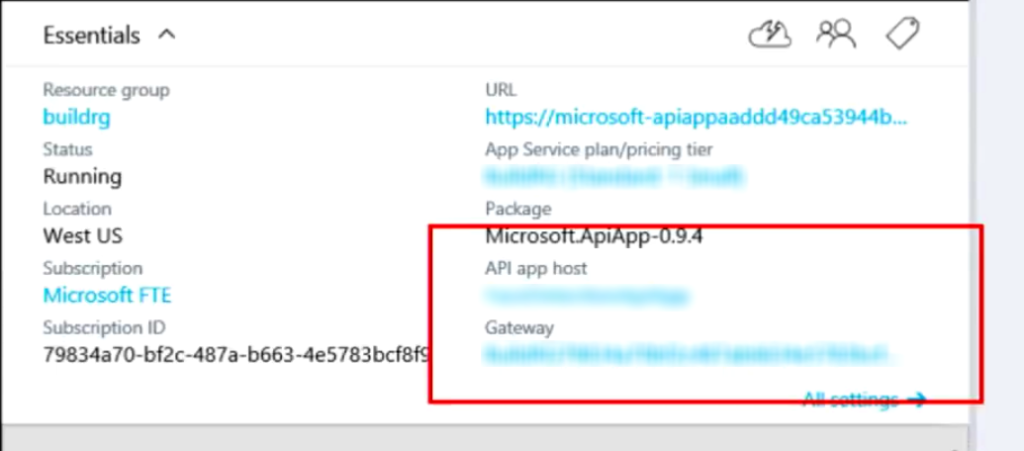
By opening the API App you will find an “API app host” which is the actual web app that the API App is running on.You will also find a Gateway, here you can select it and make changes to it too.
- Open Visual Studio and start a New Project
- Inside ASP.NET Web Application you’ll find the Azure API App option which we will use
- Your API App project template will be loaded
- You can now start adding your classes to it to meet the functionality you need
- Inside the Controllers folder, you’ll find a ValuesControllers.cs file
Here in this file is where the API functions are written
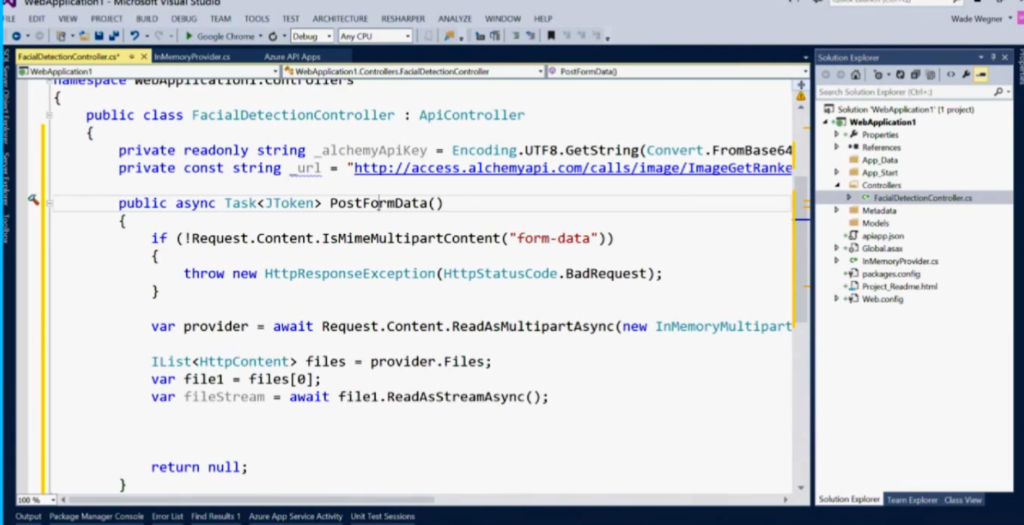
- You can now run it locally to test it.
- To deploy it just right click on your project and select “Publish”.
- A window like this one will open.
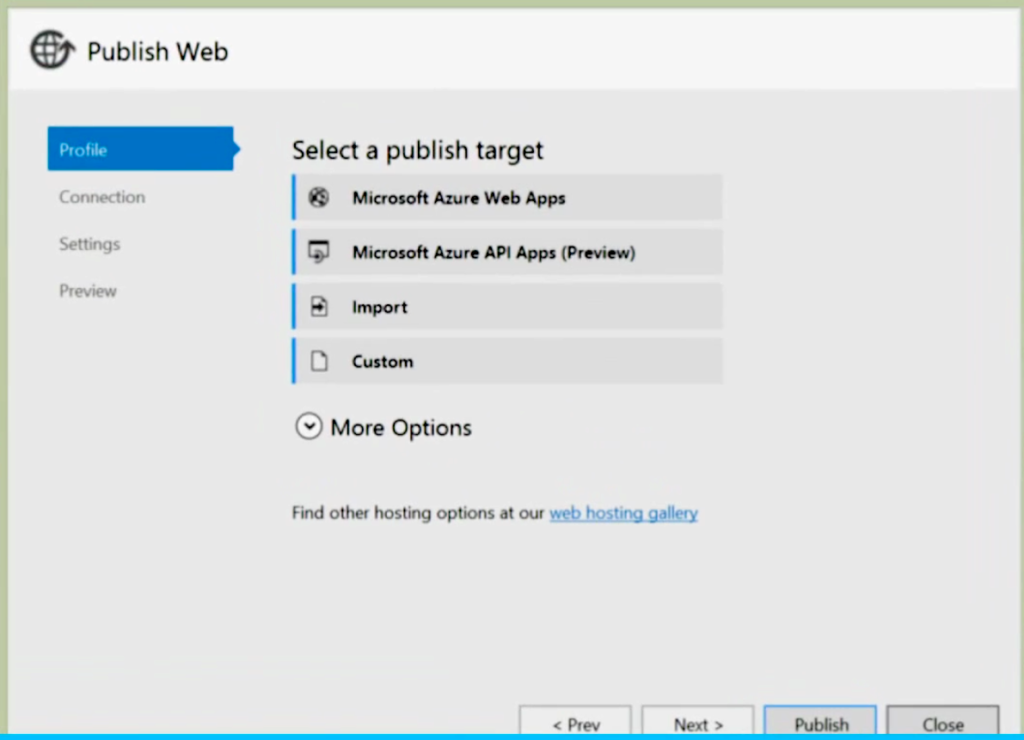
- Select Microsoft Azure API Apps
A new window will pop up with your Existing API Apps loaded.
- Select the API App you want to deploy, click OK and click Publish.
You have now published your first Azure API App and you are able to manage it through the Azure Portal.
Tell us how it went and let us know your comments.